
The time has come to destroy the Meridian Supercolony. Read this article to learn how to do the Deploy Dark Fluid mission in Helldivers 2.
The Dark Fluid has finally been weaponized and prepared to fully obliterate Meridia. Now Helldivers have to deploy small amounts of that Fluid all over the planet until a critical mass is reached. Then, we expect that a black hole will open and swallow the planet whole, fully removing the Terminid supercolony from the galaxy. Now, a special mission is available in Meridia and is a part of every operation there. So, let’s see how to do that mission, titled Deploy Dark Fluid, and erase Meridia from Helldivers 2.
How to Do the Deploy Dark Fluid Mission in Helldivers 2
The Deploy Dark Fluid is a unique mission in Helldivers 2, and it has a couple of stages and unique mechanics. We will go over all of them and we’ll add our own thoughts and advice on how best to tackle this arguably stressful mission.
The mission itself is already unusual. You have a smaller, circular map, (larger than defense missions, but smaller than Blitz missions) with no objectives shown on the map from the start.
Dark Fluid Vessel
What you will notice right from the get-go is that you have a new, mission-specific Stratagem, called Dark Fluid Vessel. Other objectives will appear after you call in this Vessel the first time, so try to do it as fast as possible. The Stratagem Code for Dark Fluid Vessel is: Up, Left, Right, Down, Up, Up. Throw the beacon somewhere nearby and after a few seconds a Hellpod containing a Dark Fluid Vessel will drop.
Dark Fluid Vesel is a Backpack item, so keep in mind that you cannot carry it and a Shield or Rover at the same time. Another important note is that Dark Fluid Vessel behaves the same as a Jump Pack, ie, you can hold the Climb button to perform a jump. This is useful on Meridia since the whole planet has a lot of cliffs and other vertical challenges.
When you call in the Dark Fluid Vessel, three other objectives locations, called Payload Sites, will appear on your map. This is your next objective. Note that there is a limit on the number of Dark Fluid Vessels that you can call in (usually 12). But, you are not limited to one vessel at a time, ie, the whole squad can carry a Vessel each if you like.
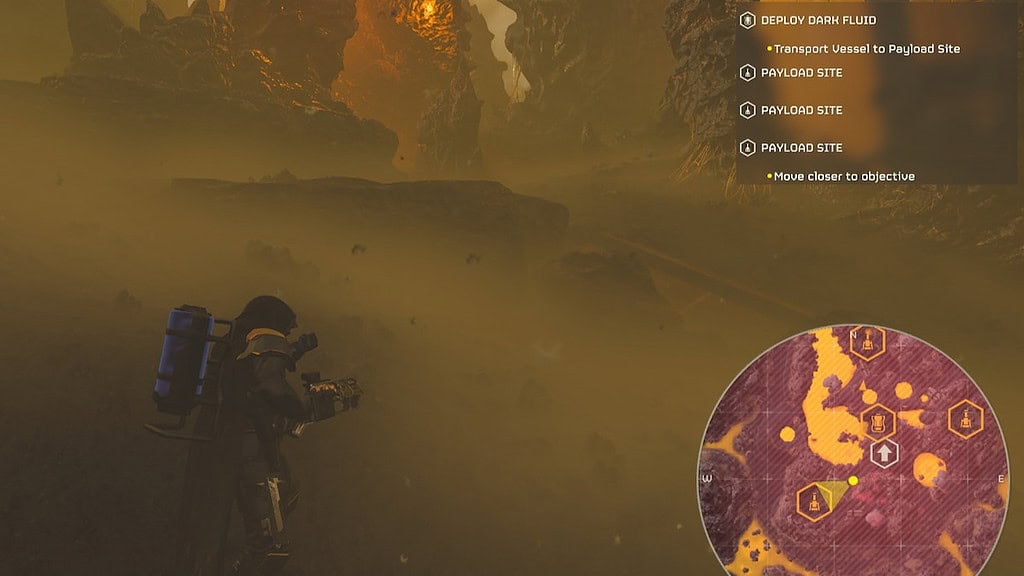
Payload Sites and Tectonic Drills
Once Dark Fluid Vessels are called in, three Payload Sites will appear. This is where you have to bring the Vessels to. The hard part is that during this mission, you will be under constant Terminid attacks. Walking about is easier said than done.
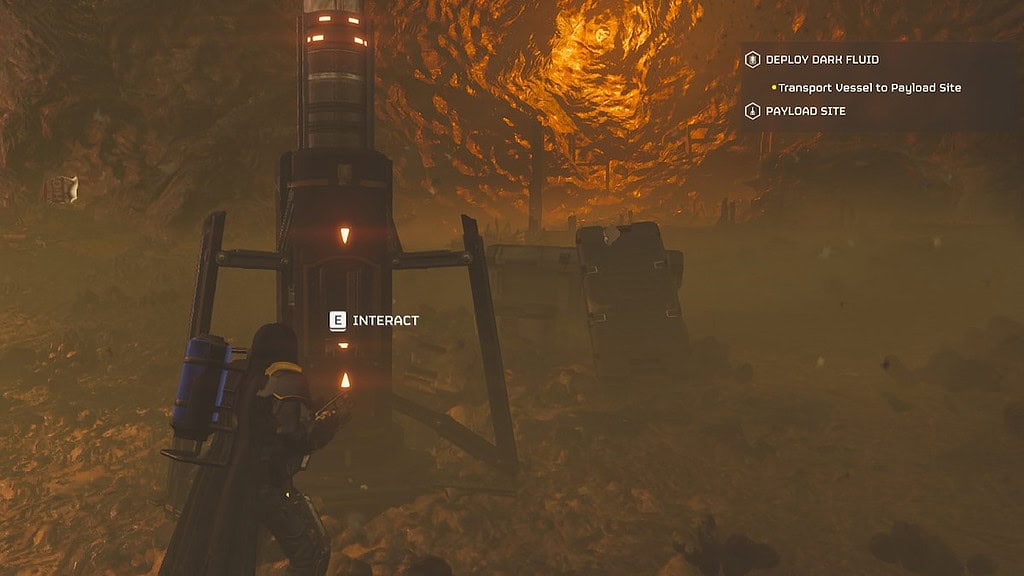
Once you manage to approach a Payload Site, you will get the option to call in a Tectonic Drill. This is a Stratagem (the code for Tectonic Drill is quite easy: Up, Down, Up, Down, Up, Down) like any other, but the trick is that you have to throw the beacon on the designated spot, ie, you can’t deploy the Drill wherever you want. The designated spot is a small crater/depression in the ground, usually surrounded by blinding yellow lights (which you can destroy, thankfully).

Throw the Drill beacon in there and after a couple of seconds, a Tectonic Drill will deploy. Once deployed, approach it and press the Interact button to insert the Dark Fluid Vessel. Now the tricky part begins. With the Vessel loaded, you have to protect the Drill for some time, until it finishes inserting the Dark Fluid into the ground. Unfortunately, the Terminids will have something to say about it.
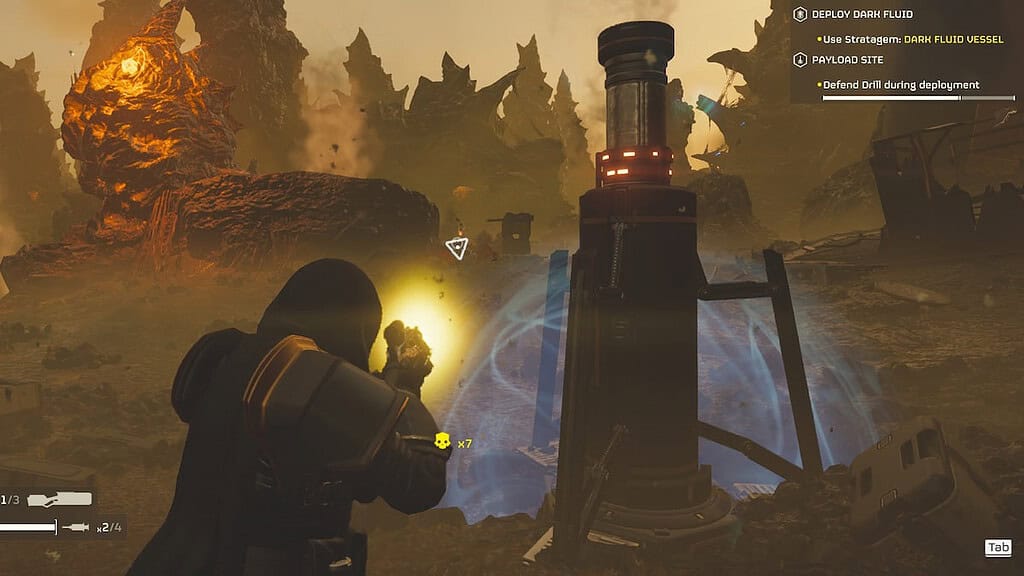
Protecting the Tectonic Drill
Bug Breaches will start appearing and waves of Terminids will try to destroy the Drill itself. This is where the fun begins. The size and number of Bug Breaches depend on your chosen Difficulty Level. Note that the Breaches can appear right next to the Drill (in fact, they usually tend to). This makes the use of explosive weapons very risky since they can damage and destroy the Drill.
What we could recommend is the use of flame weapons, since they cannot damage structures (except for Incendiary Impact Grenades) but can burn out those bugs. We have found that Gatling and Machine Gun Sentries are effective for keeping the Drill clear. Autocannon Sentries are good for Chargers and Bile Titans, but they usually focus on the closest target, and that may be the bugs attacking the Drill.

Airstrikes also run the risk of damaging the Drill, so maybe take some “safer” option, like EMS Orbital, Gas Strike, and maybe Eagle Cluster Bomb (we haven’t tried this out yet, but it IS unable to damage structures, according to the description). You will also be under constant attack from all sides, so relying on a “build” may not be possible. We recommend using simple Expandable Anti-Tanks to deal with massive targets.
Once one Drill has done its job, repeat for the other two. Thankfully, there are usually some high vantage points where you can drop the Sentries so they can have a great field of view.
Extracting
Once all three Drills have been successfully protected, the only thing left to do is to extract. This looks like your usual extraction, but it has a couple of tricks. When all the objectives have been completed, tremors will shake the planet. That means it is time to make a beeline towards the extraction point.
But, the worst part is that after those tremors, a mass of Shriekers will appear to defend the extraction point. Typing in the long code for extraction is not so easy if you are being constantly harassed by flying bugs. Pair that up with the usual waves of Terminid Warriors, Bile Spewers, and Chargers, and you’ll be in a fight for your life.
This may actually be a good opportunity to use the Expert Extraction Pilot Booster.

Deploy Dark Fluid Mission Summary, Tips and Tricks
As you have realized by now, this is a hectic mission, more akin to defense missions than the regular ones. We’d recommend Medium and Heavy Armor since speed is not of the essence here. You will be under constant attack so ammo may be a problem here. And since the Supply Drop has a significant cooldown, consider taking weapons that do not rely on ammo, like the Sickle and Laser Cannon. On the other had, you can find some ammo packs on the ground. Expandable Anti Tank should be your answer to massive targets, or a well-organized team, where one dedicated anti-tank player will be protected by the rest of the squad.

Sentries
Gatling and Machine Gun Sentries have proved surprisingly effective in this mission. The regular Mortar Sentry should be avoided since it can easily destroy the Drill. EMS Mortar, on the other hand, is very useful in slowing down the enemy. Autocannon Sentry can be useful if positioned in a way that prevents it from shooting near the Drill. Mines are a not-great-not-terrible choice here since the enemies will come in waves, but those waves can come from all sides. And Mines cannot damage those flying Shriekers. A well-positioned Tesla Tower can “wall off” one part of the battlefield, so consider taking it.
Orbitals and Other Stratagems
As for Orbitals, we recommend the Orbital Railcannon Strike, since the majority of other Orbital or Eagle strikes run the risk of damaging the Drill. Gas Strike and EMS Strike can also prove useful here.
Popular Backpack Stratagems can prove lackluster here since the Dark Fluid Vessel takes up a Backpack slot. On the other hand, you can simply call in the Vessel right before the Tectonic Drill, since you can survive without your Backpack Stratagem for the time it takes you to just load the Vessel into the Drill. Another idea is that you can have one squad member dedicated to carrying the Vessles, while others protect him and use their Backpack slots as they wish.
Exosuits can turn the tide of battle here, but you must be extra careful. Both the Patriot and the Emancipator have some explosive shots, so the suits are best used to fight incoming threats, not clear the Drill itself.
All in all, this is a great and chaotic mission, where you have to bring your A-game. More tactics and ideas will most surely appear as time progresses, but we hope that these tips by our team have helped you overcome this tough but cinematic mission.