

 0 Comments
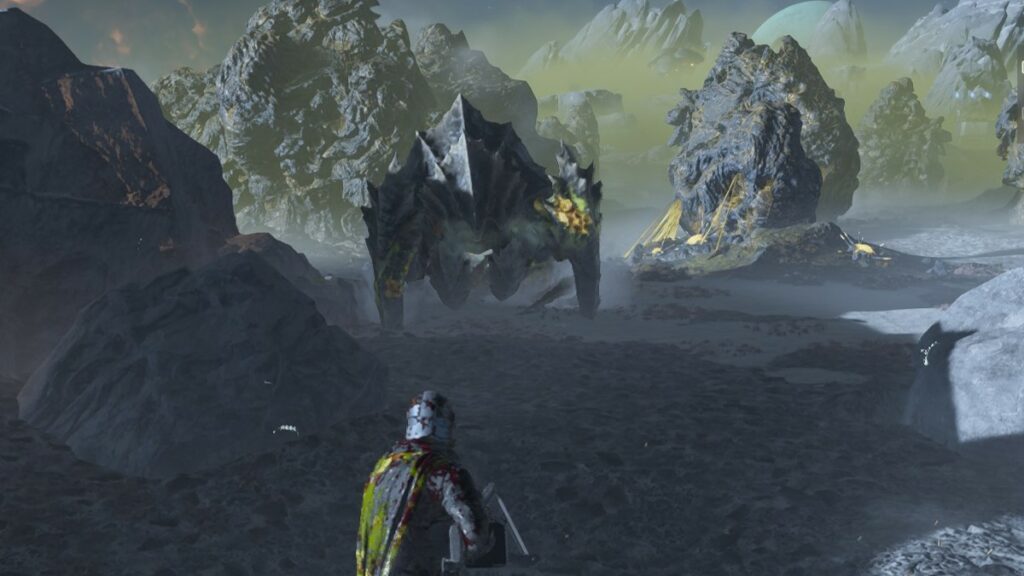
Need some help in leveling structures on the map? Here’s how to destroy buildings in Helldivers 2.
There are several reasons why you would want to destroy buildings in Helldivers 2. Some missions require you to destroy buildings to complete them (both as Primary and Secondary Objectives). Or you may want to clear up obstructions that block your line of sight. Whatever your reason may be, this article will explain how to destroy buildings in Helldivers 2.
How to Destroy Buildings in Helldivers 2
There are a couple of ways to destroy buildings in Helldivers 2, and once you get the hang of them, you’ll be destroying structures in no time. For the purposes of this article, we will also cover Bug Holes. Speaking of, let’s start with buildings that you can destroy with grenades.
Grenades
The only buildings that you can destroy with grenades are Bug Holes and Automaton Fabricators. Simply chuck a grenade down the hole/into the open vents above the door or inside when the door opens and the nest/building will be destroyed. Bear in mind that the grenade can bounce around, so it takes some practice to correctly place the grenade inside. Naturally, Smoke and Stun grenades are not suited for this, and Impact grenades are not the best (due to the fact that they explode on contact) for this.
Orbitals and Airstrikes
As you might expect, calling in airstrikes is the best way to destroy buildings. Almost every Orbital and Eagle Airstrike can destroy buildings. The ones effective against buildings are:
- Orbital 120mm HE Barrage
- Orbital 320mm HE Barage
- Orbital Walking Barrage
- Orbital Laser
- Railcannon Strike
- Eagle Airstrike
- Eagle 110mm Rocket Pods
- Eagle 500kg Bomb
- Orbital Precision Strike
The trickiest part with the more precise ones (Railcannon Strike, Eagle 110mm Rocket Pods, and Orbital Precision Strike) is placing the Stratagem beacon in the correct position. Either place it on the roof or right next to the structure’s wall.

Support Weapons
Some of the weapons that you carry with you can be useful in destroying buildings. Grenade Launchers and Autocannons can both be used to destroy Bug Nests and Automaton Fabricators, in the same manner as with hand-held grenades. The difference is that they both explode on impact so it takes some practice.
Larger buildings need more powerful explosive weapons, something like a Recoilless Rifle or the Expendable Anti-Tank. A couple of shots with those should bring a building down.
The EXO-45 Patriot Exosuit has a missile launcher that you can use, and it can also crush smaller buildings (like those cargo crates) underfoot.
Hellbomb
Certain objectives grant you the ability to call in a Hellbomb. We can best describe a Hellbomb as a manually activated 500kg Bomb. It works like any other Stratagem, so as you approach the objectives in question, the option to call in one will appear. Type in the code, place the strat-ball on the ideal position, active the bomb via its terminal, and run away before it explodes.
Hellpod
A falling Hellpod (either with a Helldiver inside or with a supply/Sentry) can destroy a building if it lands on top of it, so bear that in mind. Also, when you are Reinforced, steer your Hellpod to land on buildings to destroy them.
Meteor Storm
If you happen to fight on a planet that has a Meteor Storm Environmental Hazard, you’ll be experiencing constant Meteor showers. Those Meteors do not discriminate, so if luck is on your side, they can crash into enemy buildings and destroy them. You’d be surprised by the amount of outposts randomly destroyed by Meteors.
Use Enemy Heavies
You can use the enemy’s strength against them. Tanks and Bile Titans will crush the building if they happen to move over it, and Chargers can destroy structures if they happen to charge into one.
Best Ways to Destroy Buildings
Being effective against a building may not be enough. Standing around and waiting for your cooldowns to pass so you can call in another orbital wastes your precious time. So, with that in mind, here are the best ways you can destroy buildings in as little time as possible.
- Hellbomb – this is a Stratagem that appears only when you approach certain objectives (namely Rogue Research Stations and Automaton Supply Bases). It calls in a Hellbomb that you have to manually activate, and the bomb will produce a huge explosion. Cons: only available on certain missions; Pros: it’s free
- Eagle 500kg Bomb – the most powerful airstrike is also quite effective against buildings. Throw one into a base and blow everything into smithereens. Cons: usually one-use only before having to rearm, smaller blast radius than you’d expect; Pros: will destroy everything nearby
- Orbital Laser – this powerful stratagem can “sweep” over an area and destroy everything in its path, enemy and building alike. Cons: limited number of uses, will prioritize large enemies; Pros: can sweep over the whole base
- Orbital 320mm Baragge – This Barrage covers a large area and is best against medium and large outposts. Throw the Stratagem beacon in the middle of the compound and watch the explosions from a safe distance. Cons: inaccurate, not great when targeting a single building; Pros: covers a huge area
- Eagle Airstrike – this early-game Stratagem is still one of the best in the game. It calls in a multiple-missile strike that is great for clearing outposts. The cooldown is low enough that you can use it frequently, and it is great for destroying Radio Broadcast Towers. Cons: only covers a line perpendicular to where you are, not great for large bases; Pros: has multiple uses and a low rearm time
- Low-Profile Keys: With slimmer keycaps and shorter switches, enjoy natural hand positioning that allows for long hours of use with little strain
- Silent Membrane Switches: Perfect for those who prefer a quieter, more comfortable experience when gaming or typing
- Ergonomic Wrist Rest: Aligns to the keyboard and provides the perfect place to rest your wrists for support that’s vital during long periods of use
- Durable, Spill-resistant Design: Sturdy build is tanky enough for those intense gaming sessions and can shrug off the effects of minor spills
- Cable Routing Options: Grooves to neatly tuck in the cable and feed it out in any direction, so you can keep your desktop clear of clutter and mess
For more Helldivers 2 articles, check out How to Get and Use SG-225IE Breaker Incendiary, How to Get Premium Warbond for Free, and What Is the Sample Cap.