
Looking for a walkthrough to beat the Road Rage heist in Payday 3? Our guide will help you tackle it head-on, with many tips and tricks to boot.
Most heists in Payday 3 offer several ways to approach their goals. The second heist in the game, Road Rage, is not one of them. It is somewhat more straightforward than most others. This story mission tasks you and your crew with intercepting an armoured vehicle and looting it. Precious metals and money are your targets, but the vehicle has an armed guard that can be delayed only so long. It’s a race against time before the situation devolves into an all-out shootout. Our walkthrough will explain everything you need to know on how to beat the Road Rage heist in Payday 3.
The Goal of ‘Road Rage’ Heist
This heist revolves around taking steps to ensure the retrieval of goods from the armoured vehicle. It’s a multi-step process with the ultimate goal being to get everything you can and escape unscathed while under fire from all sides.
The Layout of the Mission
Road Rage takes place entirely on a portion of a bridge that’s still under construction. This makes it a perfect spot for your ambush. However, it is very linear as far as maps go. The bridge is filled with scattered construction equipment, trailers, and scaffolding. There’s plenty of cover to be found for the ensuing gunfight. The sniper positions on towers outside the bridge are something to look out for when the chaos begins.
Crew Considerations
Road Rage starts with masks on, so that means you should be ready for a fight from the start. The mission will involve a lot of fighting, so you should tailor your crew to be ready for it. Ammo Specialist is very handy due to the sheer amount of ammo that you’ll have to expend by the end of this mission. Also, someone speccing into Tank skill tree would make running around for objectives while under fire much easier.
On the other hand, if you plan to use the foremen on the bridge as hostages to delay the inevitable assaults, one of your crew members should spec into the Grifter tree. That way, you can use the strong hostage perks it provides to maximize this approach.
Payday 3: Road Rage Heist Walkthrough
In the beginning, you and your crew start with masks on and ready for trouble. The road to the ambush area is full of civilians and construction workers. If they notice you, they’ll signal that something’s wrong. However, they’re mostly minding their own business, so you can sprint past them unobserved as long as you don’t linger around too long.
However, an alternate plan could be to go around and round up the civilians, readying them for hostage trading as the mission progresses. You’ll come under fire sooner or later even with this approach. But you can certainly delay much of the combat this way.
Ambushing the Target
At the spawn area is the EMP device that one of your crew should carry along. On the way there, on the right side, you’ll notice a construction equipment embankment with multi-level scaffolding. Here you’ll find another device that you’ll need later on. However, the exact spawn location is random, so you don’t need to look for it if you can’t find it immediately. There are also some ammo crates that are going to be useful later, so make note of them too.

After getting to the indicated position, set up the EMP device and prime it. Then get back to a set distance and get ready for fireworks. The approaching vehicle will be stopped in its tracks, and this is when the second device comes into play. Bring it over and plug it into the side of the vehicle, then activate it. This will allow for remote control of the vehicle to get it to the next point. Also, this is the point when the first assaults will begin.

Defending the Vehicle
The goal is to defend the vehicle while at least one crew member stays within its circle to keep it moving. Just like any other escort mission in other games! Meanwhile, you’re going to come under fire from all directions. The enemy will throw everything at you, including special units. This includes Snipers, Saboteurs, Bombers, and later on Dozzers. You will have around 30-second breaks between assaults, so just keep moving the vehicle forward.

Along the way, you’ll encounter a gate that needs to be opened with a nearby electrical switch. In some instances (because it’s randomized), you may have to circumvent a few holes in the bridge. To do that, you’ll have to mount a set of two rails over them (found on nearby stockpiles) to keep the vehicle moving. Finally, the vehicle will reach a car ramp that will reveal its vulnerable underbelly. It will come to a stop, so you can get to the next stage of your scheme – looting!

Getting the loot
With the vehicle stationary, crawl under it and install the drill. Wait for it to finish boring through the box while defending the vehicle. Next, crawl back under and uninstall the drill, then open the electric box and disable it. This will unlock the vehicle’s back doors for your crew.

After getting the vehicle’s back door open, you can unlock the lockboxes inside to get the loot. There are some empty ones as well, but your main goal is to get as many rare minerals and money as you can. You may come under assault, so have your crew keep a perimeter. After getting the loot, run to the nearby spot to signal the pickup.

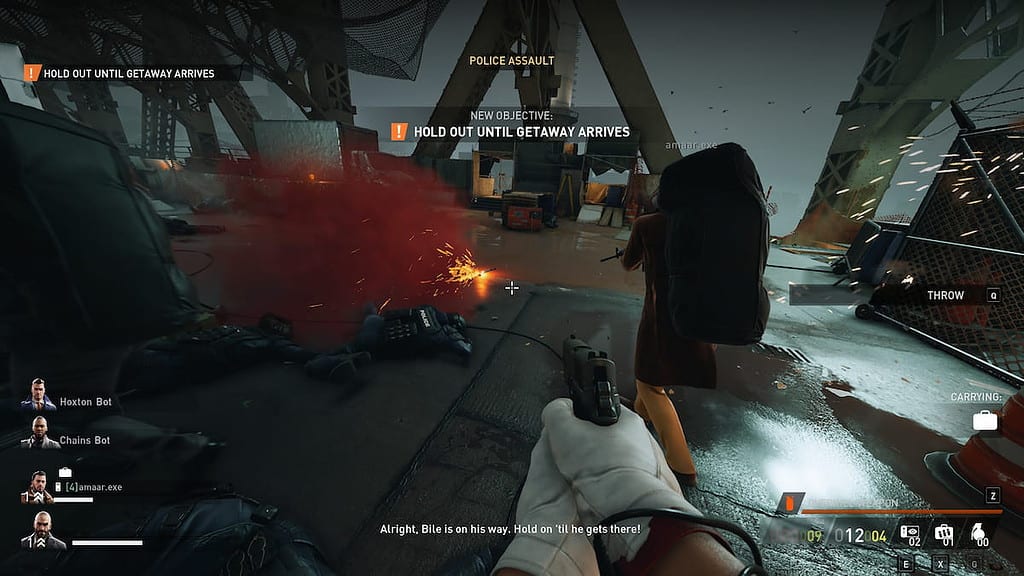
After a short wait, a chopper will appear at the right scaffolding platform. Throw your bags one by one to fill it up – don’t worry about precision too much, the chopper will miraculously catch them. After getting at least four bags containing specifically rare minerals loaded up, it’s time to make your own escape.

The Getaway
With the loot safely loaded and out of the way, it’s your turn to escape. Get away from the platform and run diagonally to the other side of the bridge, following the marker.

You’ll need to cut through some mesh before getting onto another construction platform. From there, locate the stairs and run down until you reach the escape area. Stand in it for a few seconds to complete the mission.
Difficulty and Profit
Road Rage is a very straightforward heist to pull off. It’s more akin to playing a typical shooter game with extra objectives, which makes it pretty easy to replay. Just like other heists in Payday 3, there are four difficulty levels that you can attempt.
- Normal: $200,000 – $500,000 profit, the easiest difficulty.
- Hard: $250,000 – $600,000 profit, the best way to farm it for money and XP.
- Very Hard: $300,000 – $700,000 profit, the cameras are indestructible, but they aren’t a huge factor in this mission.
- Overkill: $350,000 – $850,000 profit, indestructible cameras, tougher enemies, and very punishing to complete.
Once you have some practice with how to approach this heist and your loadout upgraded, playing Road Rage on Hard difficulty is the best way to run it. That is, unless you’re trying to go for specific Challenges. The Hard difficulty has the best balance of profit and XP compared to the time and complexity it takes to complete it.
If you’re looking to read more about Payday 3, make sure to check out our other guides and walkthroughs, like Payday 3 No Rest for the Wicked Heist Walkthrough, How to Invite Friends in Payday 3, and How to Make a Private Lobby in Payday 3.